- From the e-Connections Portal Administration menu, select User Admin.
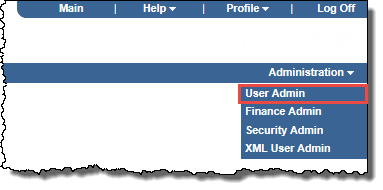
The User Administration page opens.

- Select Add A User.
The Add a User page opens.
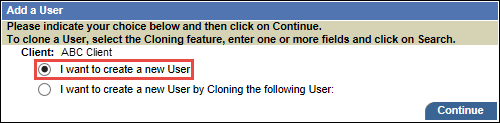
- Select I want to create a new User, and then select Continue.
The Add a User - General Information page opens.
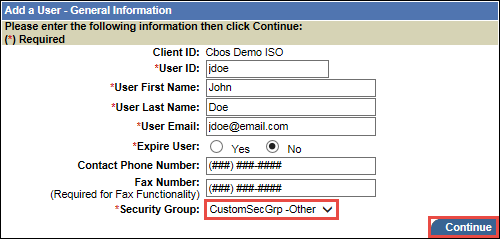
- Enter the user's details, and select the appropriate Security Group that is set up for front-end custom access level.
- Select Continue.
The Add a User - Access Level page opens.
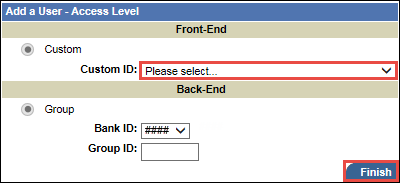
Note: The Back-End options available will depend on the security group setup.
- On the Front-End panel, from the Custom ID drop-down list, select the custom hierarchy you want to assign to this user.
- On the Back-End panel, select the back-end options you want to assign to the user.
- Select Finish.