![]()
![]()
![]()
![]()
|
|
|
|
|
The Point to BETs - List page displays the billing element tables (BETs) configured for a merchant, allowing you to add a new authorization BET, modify the merchant's authorization BETs, copy an authorization BET from one merchant to another, and view authorization BET details. Authorization billing element tables (BETs) allow you to track expenses and calculate fees by item count.
Note: This page may be given a custom configuration for specific clients.
-or-
For an existing merchant, search for the merchant to display its details on the Merchant Summary page, and then:
-or-
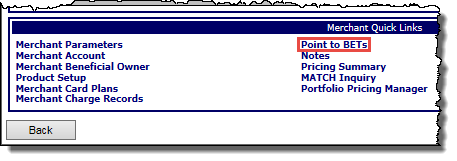
From the Merchant menu, click Point to Billing Elements.
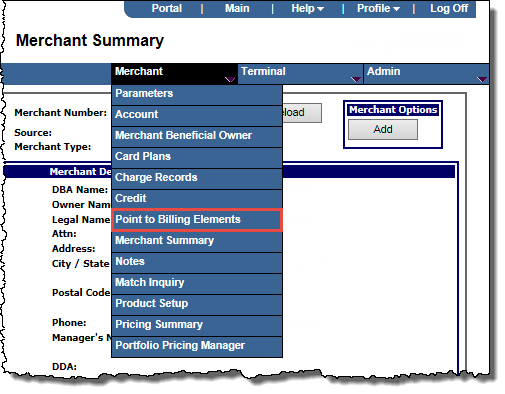
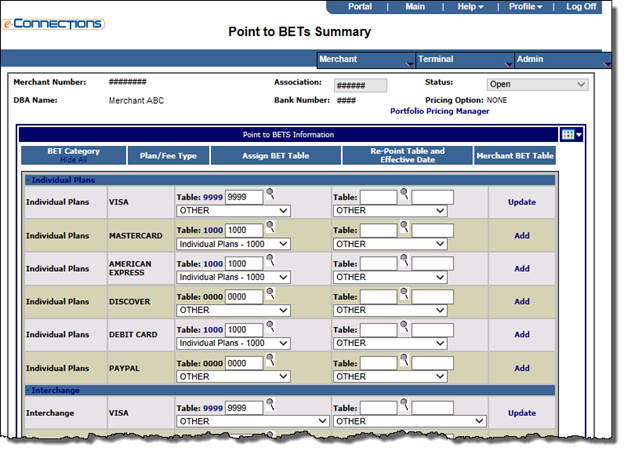
The Point to BETs Summary page displays.
The Point to BETs - List page displays. Available BETs are listed alphabetically.
You can copy an authorization BET from one merchant to another merchant. The merchants must belong to the same bank, and the merchant being copied from must be boarded and have a Merchant Level BET for the selection criteria the user is requesting.
Note: Default values from the Discount Charge Record are shown in the Defaults row of the table for all BETs.
The billing items are copied from the source merchant. The Point to BETs - Details page displays.
The Point to BETs - List page displays.
A line item is added for each Vendor / Media type that has a BET assigned. If the line item has a number other than 0000 a BET Table has been assigned to the line item.
A new table number can be assigned to a BET when the request is received instead of waiting for the first day of the month the rate change is suppose to take affect by using the re-point functionality. You cannot re-point a Merchant Level BET (9999) to a Merchant Level BET
Note 1: If all zeros was previously entered for the BET number it indicates that no association level BET exists. If the BET number is changed from all zeros to another valid BET number then from there on the BET number has to be maintained on the Point to BETs page at the merchant level.
Note 2: If all zeros are displayed for T/R, DDA, and Bank Officer Codes as well as blank for Billing Method it indicates that no association level BET exists for that item. If the fields are changed to a value other than all zeros (Blank for Billing Method) then going forward they have to be maintained on the Point to BETs page at the merchant level.
Note 3: If a non-zero T/R, DDA, and Bank Officer Codes as well as a non blank Billing Method was previously entered the user can set it to all zeros (blank for Billing Method) which will indicate that the Discount Charge Record values will be used going forward and therefore changes to the Discount Charge Record will propagate to the merchant.
Note 4: If Configuration Option 31 is ON for the Bank, then in addition to the text box for assigning a BET table number to each Plan/Fee Type, a dropdown list field is also displayed. The menu selections include the client-defined BET Description for every Bank BET that matches the BET category and Plan/Fee Type and that has also been flagged as Use in BET Assignment Menu. Each selection also reflects the BET table number as a "suffix" to the BET description.
To assign a BET table to a Plan/Fee Type, the user selects a value from the dropdown list. Once selected, the table number associated with the selection populates to the BET table number text box (overwriting any table number previously displayed there, including the Association default).
If the user wishes to assign a BET number that is not listed in the dropdown list, they must first select Other from the menu in order to enable the text box, then type in the BET number
As an alternative to configuring Merchant level BETs, you can point a merchant to a Bank level BET.
You can view Merchant level BETs or Bank level BETs from the Point to BETs - Summary page.