- Search for the merchant to display its details on the Merchant Summary page.
- In the Merchant Terminals panel, in the V Number column, click the V number to which you want to add a printer.
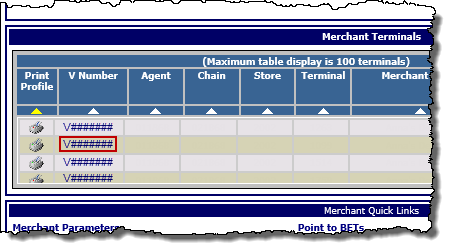
The Terminal Setup page for that terminal opens.
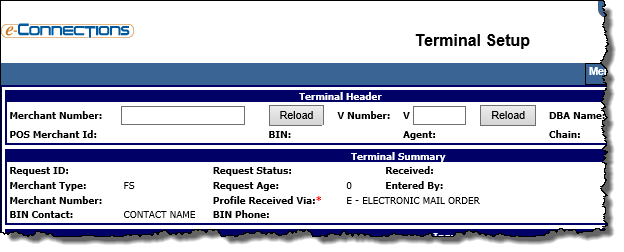
- Click the Edit button.
- In the Terminal Status panel, in the Terminal Setup Details box, enter an explanatory comment, such as Adding printer 250.
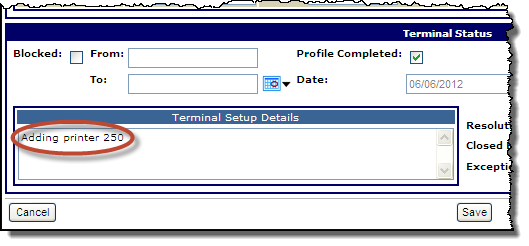
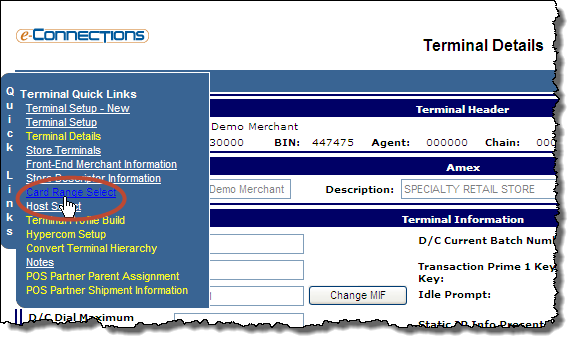
- From the Quick Links menu, click Terminal Details.

The Terminal Details page opens.
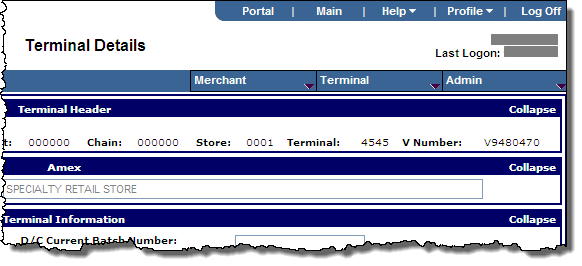
- Click the Edit button.
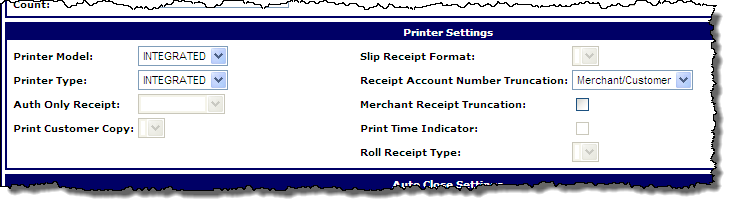
- In the Printer Settings panel, select the required options from the drop-down lists and select or clear the check boxes as required.
Note: The options available here will depend on the terminal's settings in the HWSW Information panel on the Terminal Setup page.
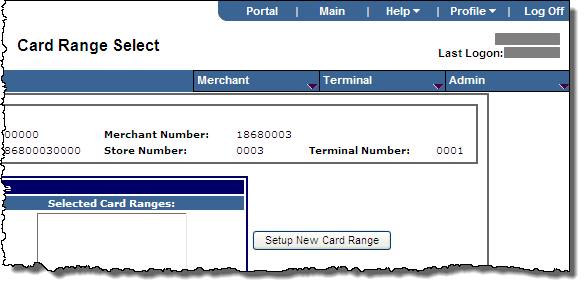
- From the Quick Links menu, click Card Range Select.
The Card Range Select page opens.
- Under Existing Card Ranges, select the appropriate Payment Service radio button.
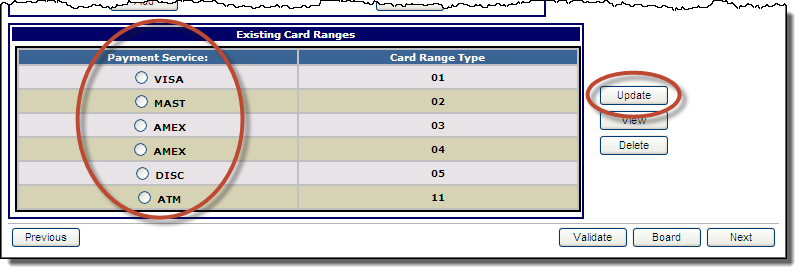
- Click the Update button.
The Card Range Setup page opens.
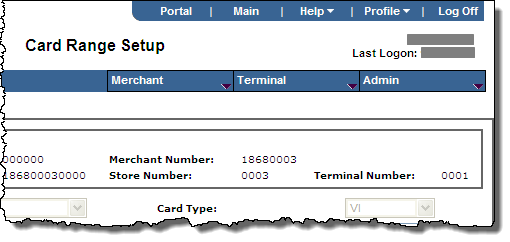
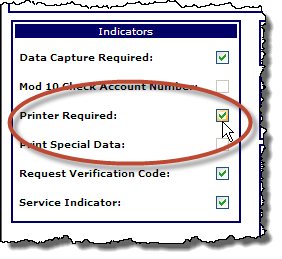
- In the Indicators panel, verify that the Printer Required check box is selected.
- Click the Save button.
- Click the Continue button or Cancel button to return to the Card Range Select page.
Note: The Cancel button will not cancel your changes as long as you have already clicked the Save button.
- Repeat process for all card ranges available as needed.
- Click the Board Button.
Note: Depending depend on the terminal's settings in the HWSW Information panel on the Terminal Setup page, you may need to visit additional pages. From the Terminal menu, click the option for the appropriate terminal to verify those values.