Pend a terminal
You can pend a pre-boarded terminal and assign a category and reason to the pend status on the Pend Details page. When you access the Pend Details page, the data you entered for the terminal up to that point is saved.
Navigation
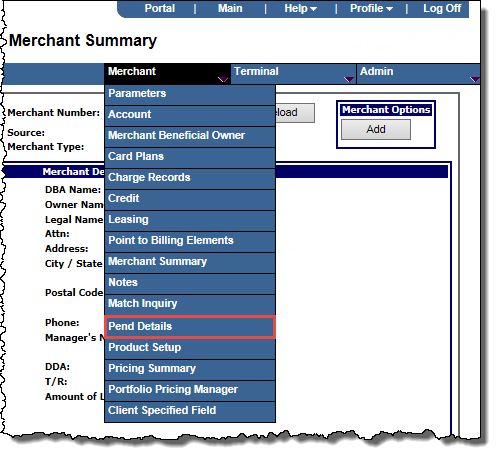
- With a pre-boarded terminal in context, at any of the terminal-related screens, from the Merchant menu, click Pend Details.
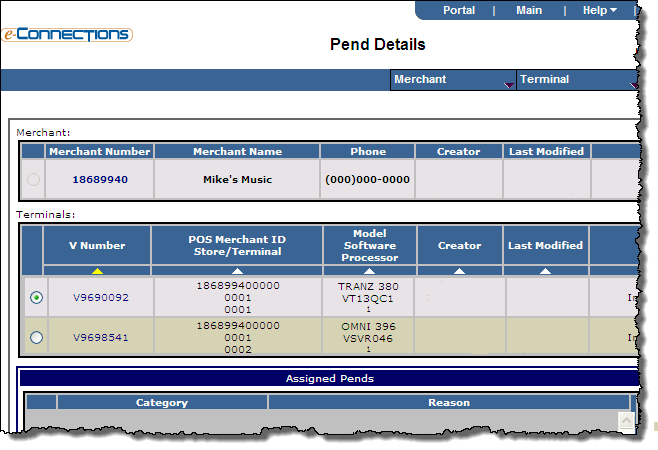
The Pend Details page opens with the option button for that terminal's V Number in the Terminals list already selected.
Pend a terminal
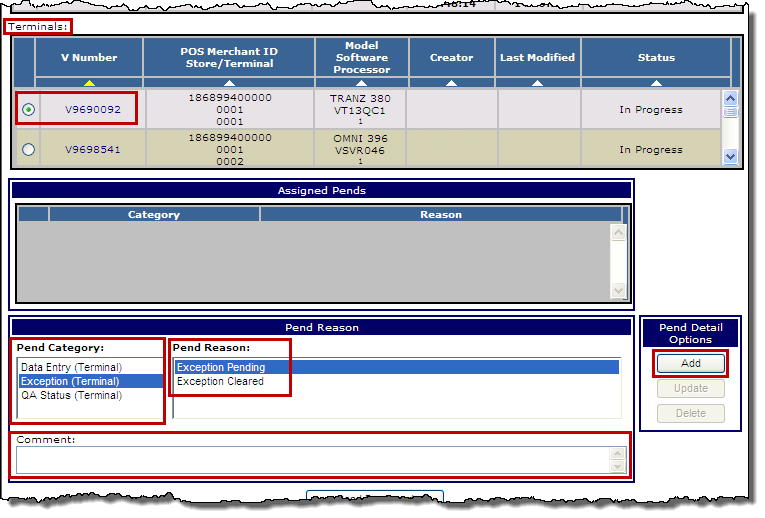
- In the Terminals list, make sure the option button for the V Number for the terminal you want to pend is selected.
- In the Pend Reason panel, from the Pend Category list, select a pend category.
- From the Pend Reason list, select a pend reason.
- In the Comment field, enter any comments that you want to accompany the category and reason.
- In the Pend Detail Options panel, click the Add button.
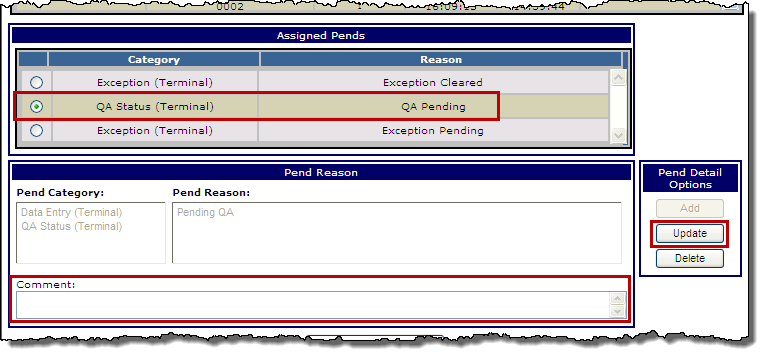
Update a pend Comment
- From the Assigned Pends panel, select the option button for the pend Category/Reason whose Comment you want to update.
- In the Comment field, enter or edit any comments that you want to accompany the category and reason.
- In the Pend Detail Options panel, click the Update button.
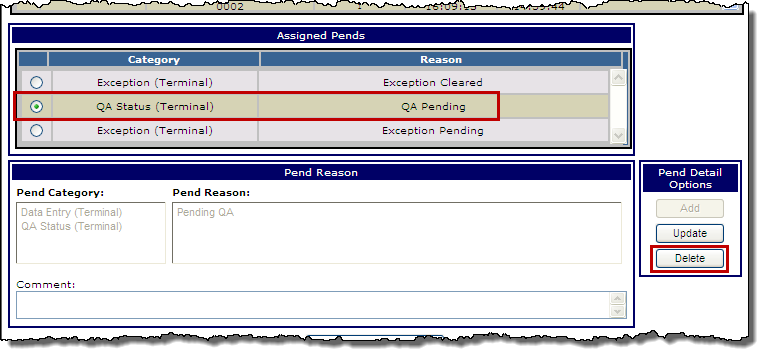
Delete a pend Category/Reason
- From the Assigned Pends panel, select the option button for the pend Category/Reason you want to delete.
- In the Pend Detail Options panel, click the Delete button.