Step 4: Configure Card Ranges
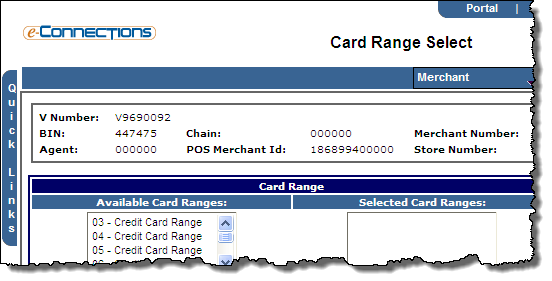
The Card Range Select page is where you can select the card ranges for the terminal. Once selected, the Card Range Setup page enables you to specify the configuration details for each payment service accepted at the terminal.
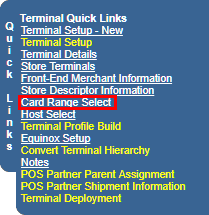
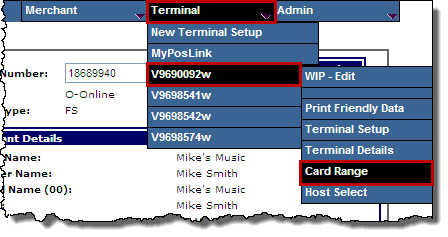
To ensure you are on the correct page:
Select and update each Payment Service the terminal accepts:
- Follow the
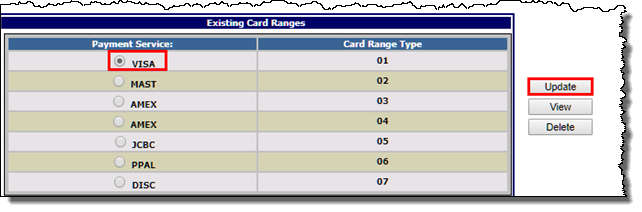
 update steps if the card range is already listed in the Existing Card Ranges panel.
In the Existing Card Ranges panel, select the option button for the appropriate Payment Service, and then click the Update button.
-or-
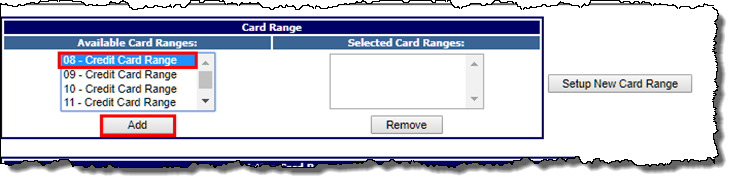
Follow steps to setup a new Card Range
- From the Available Card Ranges list, select the card ranges you want to add, using SHIFT+click and CTRL+click for multiple selections, and then click the Add button.
The card ranges you selected appear in the Selected Card Ranges list. - From the Selected Card Ranges list, select the first of the of the new card ranges.
- Click the Setup New Card Range button.
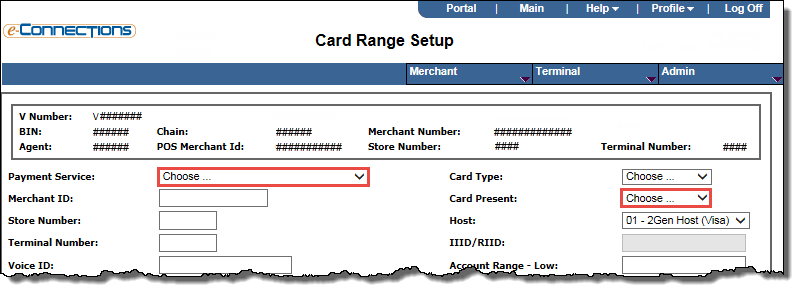
The Card Range Setup page opens with your selected card range in context.
- Select or verify the appropriate Payment Service for that card range.
- Select or verify the Card Present drop-down list. The recommended choice is 3 - Both.
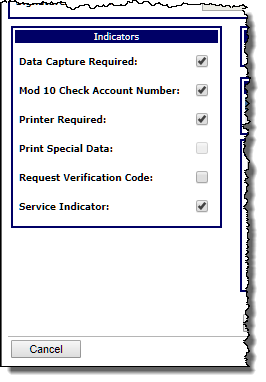
- Select the appropriate check boxes for the desired Indicators.
Note: You should only select Mod 10 Check Account Number for valid credit card ranges, such as Visa, Mastercard, and American Express.
- Select the desired Partial Auth option for that card range.
- PARTIAL AUTHORIZATION FROM HOST
- NO PARTIAL AUTHORIZATION
- PARTIAL AUTHORIZATION ON ALL TRANSACTIONS
- PARTIAL AUTHORIZATION WHEN CARD PRESENT
- In the Voice Authorization Phone panel, review the Access Code / Phone fields for accuracy and make any changes as needed.
- Click Save.
- Click Continue.
- Repeat these steps for each card range.
- Click the Next button.